Repotting your parlor palm is easy and fun! First, check for signs it’s time to repot—like roots peeking out or yellowing leaves. Gather supplies like a clean, larger pot, gloves, and potting soil. Remove your palm gently, inspect the roots, and verify they’re healthy. Then, place it in the new pot with fresh soil, and water it well. Keep an eye on humidity and soil moisture to help your palm thrive. Keep going to discover more tips!
Key Takeaways
- Check for signs like roots emerging from drainage holes or yellowing leaves to determine if repotting is needed.
- Choose a pot that is 2 inches wider than the current one, ensuring it has drainage holes.
- Prepare the new pot by adding small stones for drainage and filling it with a well-draining potting mix.
- Gently remove the parlor palm from its current pot, inspect roots for health, and transplant into the new pot.
- Water the plant thoroughly after repotting, maintaining slightly moist soil and monitoring humidity levels for optimal growth.
Understanding When to Repot Your Parlor Palm
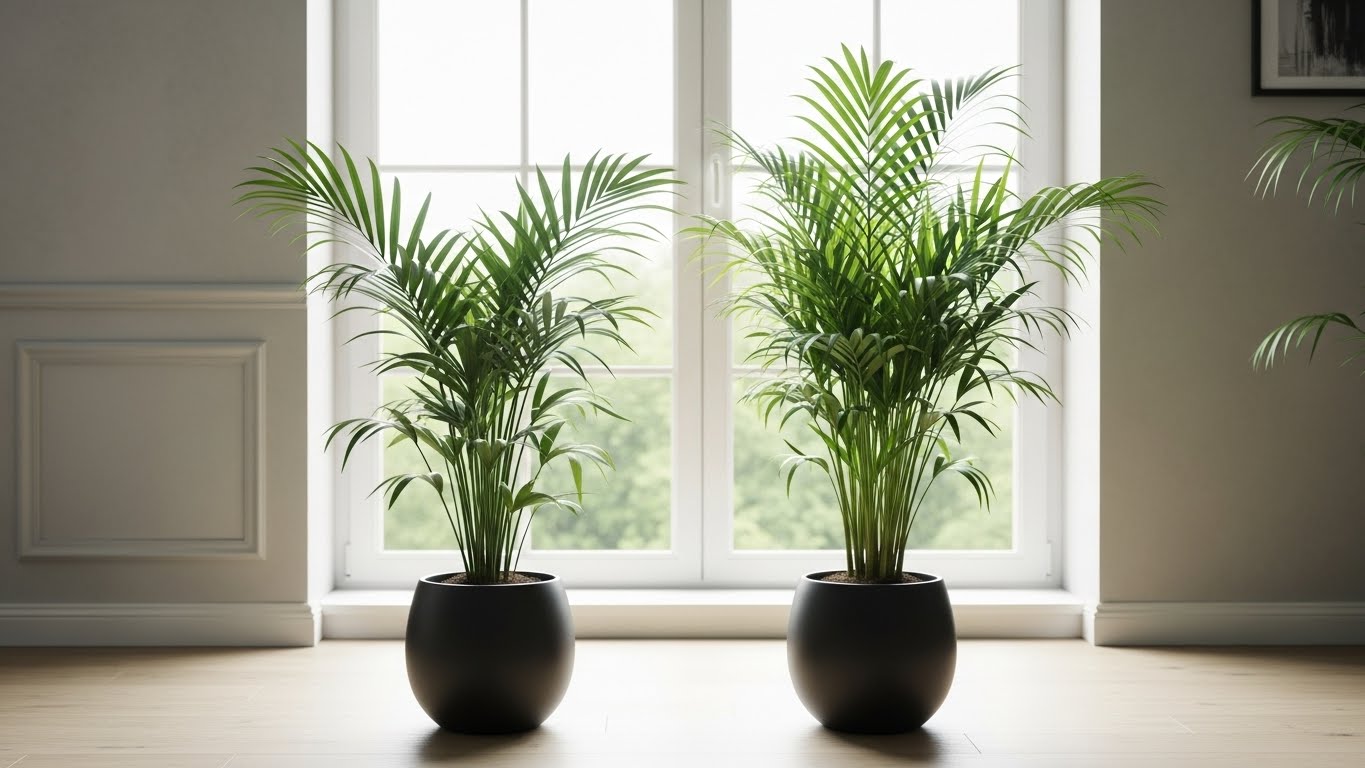
When you notice your parlor palm looking a bit cramped in its pot, it might be time to contemplate repotting. One of the clear signs of repotting is when roots start to peek out of the drainage holes or even curl around the pot’s edges. You should also watch for slowed growth, yellowing leaves, or if the soil dries out too quickly. Timing considerations are essential too; spring is the best season for this task, as your palm enters its growth phase. Repotting during this time allows it to thrive in fresh soil, giving it the nutrients it craves. Additionally, using a well-draining potting mix is crucial for healthy root development. Keep an eye on your plant, and trust your instincts—your parlor palm will thank you for the care!
Gathering the Necessary Supplies
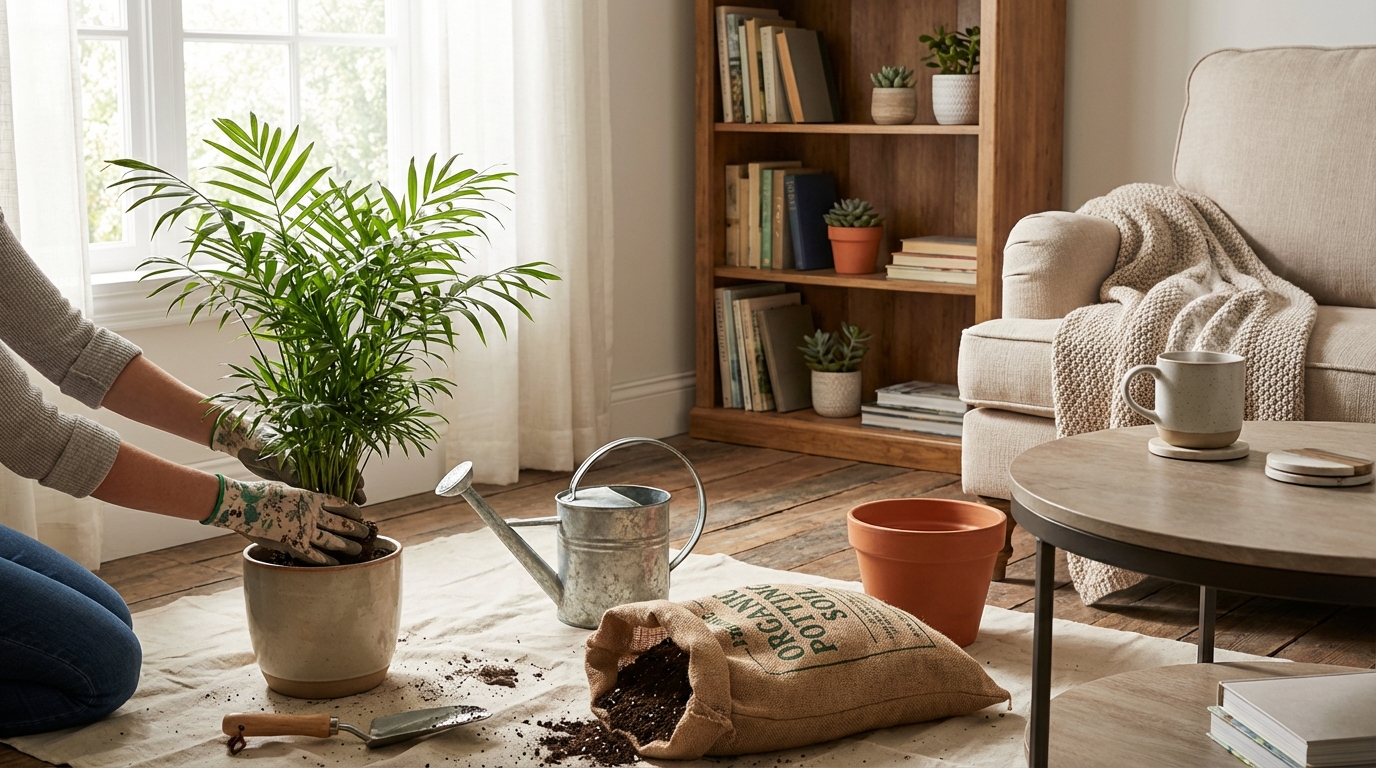
Gathering the right supplies is a key step in successfully repotting your parlor palm. Start by creating a tools checklist to guarantee you have everything you need. You’ll want a clean pot that’s slightly larger than the current one, preferably with drainage holes. Don’t forget gloves to protect your hands while you work. Next, gather your potting materials, including high-quality potting soil that promotes drainage and nutrients. You might also want some small stones to place at the bottom of the pot for extra drainage. Having a watering can handy is essential, too, to give your palm a nice drink after repotting. With these supplies in hand, you’re ready to make your parlor palm feel right at home!
Preparing Your New Pot and Soil
Before you get started with repotting your parlor palm, you need to prepare the new pot and soil properly. First, pick a pot that’s slightly larger than the current one to give your plant room to grow, and make sure it has drainage holes to prevent overwatering. Next, choose a quality potting mix designed for palms or houseplants, which will keep your palm healthy and thriving in its new home.
Choosing the Right Pot
Choosing the right pot for your parlor palm is essential, since it can greatly affect its growth and health. Start by considering pot size; ideally, you want a pot that’s a couple of inches wider than the current one to give those roots room to breathe. A pot that’s too big can retain excess moisture, leading to root rot, so be mindful of that!
Next, think about pot material. Terracotta pots are great because they’re breathable, which helps keep the soil from getting too soggy. Plastic pots, on the other hand, are lighter and easier to move but might not provide the same drainage. Whichever you choose, guarantee it has drainage holes to keep your parlor palm happy and healthy!
Selecting Quality Soil
Once you’ve picked the perfect pot for your parlor palm, it’s time to focus on the soil that will help it thrive. Choosing the right soil type is essential, and you’ll want a mix that’s light and well-draining. Look for organic options, like a potting mix specifically designed for houseplants. This type of soil usually contains peat moss, perlite, or coconut coir, which provides the right balance of moisture retention and aeration. Avoid heavy garden soil, as it can lead to root rot. When you’re ready, gently mix in some compost for added nutrients, giving your palm the best chance to flourish in its new home. With quality soil, you’re setting up your parlor palm for success!
Ensuring Proper Drainage
To guarantee your parlor palm thrives in its new pot, proper drainage is essential. Start by choosing a pot with drainage holes to prevent water from sitting at the bottom, which can lead to root rot. Next, layer the bottom with small stones or gravel before adding your potting mix. This helps create a barrier and enhances drainage.
Here’s a simple guide to help you:
Step | Purpose | Tips |
|---|---|---|
Choose a Pot | Allows excess water to escape | Look for drainage holes |
Add Stones | Improves drainage | Use small pebbles or gravel |
Layer Potting Mix | Supports the palm’s roots | Use a well-draining mix |
With these steps, you’re setting your parlor palm up for success!
Removing the Parlor Palm From Its Current Pot
Gently grasp the base of your Parlor Palm and pull it from its pot, being careful not to damage the roots. If your palm’s snug in its current pot, you might need to use some removal techniques like gently tapping the sides or running a knife along the edge to loosen the soil. It’s vital to take into account the pot size you’ll be using next; a pot that’s too big can lead to overwatering, while one that’s too small can restrict growth. As you lift, support the plant’s upper foliage, ensuring it stays upright. This moment is critical for your palm’s health, so take your time and treat it with care, like the little green friend it is.
Inspecting the Roots and Plant Health
Now that you’ve got your Parlor Palm out of its pot, it’s time to inspect the roots and check on the overall health of your plant. You’ll want to assess the condition of the roots, look for any pesky pests, and evaluate how vigorous your palm looks. This step is essential to guarantee your plant thrives in its new home!
Assessing Root Condition
Inspecting the roots of your parlor palm is like peeking into a secret world beneath the soil, and it’s an essential step in ensuring your plant stays healthy and vibrant. Start by gently removing the root ball from the pot, being careful not to damage the roots. Look closely at their condition. Healthy roots should be firm and white or light tan, while dark, mushy roots indicate rot—definitely a red flag! Checking root health helps you determine if your plant needs more space or if it’s time to prune away any unhealthy roots. This small yet vital step can dramatically improve your parlor palm’s overall well-being, allowing it to thrive and grow beautifully in its new home.
Checking for Pests
How can you tell if your parlor palm is under attack by pesky pests? Start by inspecting the leaves and soil. Catching these little invaders early makes pest identification and treatment much easier. Here’s what to look for:
- Webbing or spots: Tiny webs or brown spots can indicate spider mites or scale insects.
- Sticky residue: A sticky film on leaves may suggest aphids or mealybugs, which suck the plant’s sap.
- Wilting leaves: Droopy, yellowing leaves often signal stress from pest damage.
If you spot any of these signs, don’t panic! You can treat your parlor palm with insecticidal soap or neem oil. Swift action will help your plant recover and thrive in its new home.
Evaluating Plant Vigor
Is your parlor palm thriving or struggling? Evaluating its vigor is essential for understanding its health indicators. Start by gently removing the plant from its pot and inspecting the roots. Healthy roots should be white and firm, while brown or mushy roots signal trouble.
Health Indicators | Signs of Trouble |
|---|---|
Strong, white roots | Brown, mushy roots |
Vibrant green fronds | Yellowing or drooping fronds |
New growth shoots | Stunted growth |
Moist soil | Dry, cracked soil |
Look for signs of plant growth, and don’t hesitate to address any issues you find. Your parlor palm deserves the best care, and nurturing its health guarantees it’ll flourish beautifully in your home.
Transplanting the Parlor Palm Into the New Pot
Transplanting your Parlor Palm into its new pot can feel like a mini-adventure, and it’s important to do it right to help your plant thrive! First, choose the right pot size; it should be just a bit larger than the current one. Next, gently remove your Parlor Palm, keeping the root ball intact to minimize shock. Finally, follow these steps to guarantee a smooth shift:
- Place a layer of fresh potting mix at the bottom of the new pot.
- Position the root ball in the center, making sure it sits at the same depth as before.
- Fill around the edges with more potting mix, gently pressing down to eliminate air pockets.
Your palm will appreciate this nurturing touch!
Watering and Caring for Your Repotted Palm
Once you’ve successfully repotted your Parlor Palm, it’s essential to pay attention to its watering and care needs to help it settle into its new home. Begin by watering your palm moderately; keep an eye on the soil’s moisture. Aim for a water frequency of once a week, but adjust based on how quickly the soil dries out. Remember, the goal is to keep the soil slightly moist but not soggy.
Additionally, Parlor Palms thrive in higher humidity levels, so consider misting the leaves or placing a humidifier nearby. This extra care will help your palm feel cozy in its new pot. With the right watering and humidity, your Parlor Palm will flourish beautifully!
Monitoring Your Plant’s Progress After Repotting
After you’ve repotted your Parlor Palm, keeping an eye on its progress is crucial for ensuring it thrives in its new environment. By observing growth and tracking health, you’ll notice how your palm adapts. Here are three key ways to monitor its progress:
Monitoring your Parlor Palm after repotting is essential for its adaptation and overall health. Keep an eye on growth and soil moisture.
- New Growth: Look for fresh fronds or leaves sprouting. This is a good sign your palm is adjusting well.
- Leaf Color: Check for vibrant green leaves; dull or yellowing leaves may indicate stress or improper care.
- Soil Moisture: Keep an eye on the soil’s moisture level. Overwatering or underwatering can affect health.
Stay attentive, and your Parlor Palm will reward you with beauty and energy as it settles into its new home!
Conclusion
Repotting your parlor palm can feel like giving it a brand-new home, and trust me, it’ll thrive like a superstar in no time! By following these steps, you’ve not only refreshed its living space but also set the stage for healthy growth. Keep an eye on your plant’s progress, and soon, you’ll see those lush fronds reaching for the sky. Enjoy your journey as a plant parent, and remember, a happy palm makes for a happy home!


