To propagate bromeliads from pups, wait until the pups are about one-third the size of the mother plant, usually in late spring or early summer. Use a sharp, sterilized knife to gently cut the pup from the base, ensuring a few roots are attached. Plant the pup in a slightly larger pot with well-draining soil. Keep it in bright, indirect light and water weekly, adjusting care as it grows. Learn how to handle any challenges that come your way!
Key Takeaways
💡 Proper lighting is vital for the health of your bromeliads, especially during the propagation phase.
➜ Master this approach
- Wait until pups are about one-third the size of the mother plant, ideally in late spring or early summer, for optimal separation.
- Use a sharp, sterilized knife or scissors to carefully cut the pup from the mother plant, ensuring a few roots are intact.
- Prepare pots with drainage holes and fill them with a well-draining mix, such as potting soil combined with perlite.
- Place the pups in bright, indirect light and maintain temperatures between 65°F – 85°F (18°C – 29°C) for healthy growth.
- Water weekly when the soil is dry and apply diluted fertilizer every 4-6 weeks to support the pups’ development.
Understanding Bromeliad Pups
When you think about bromeliads, you might picture their vibrant colors and unique shapes, but did you know these plants have a fascinating way of growing? One of the most interesting bromeliad characteristics is their ability to produce pups, which are small offshoots that develop at the base of the mother plant. These pups emerge as part of the natural bromeliad growth cycle, showcasing their resilience and adaptability. As you watch pup development, you’ll notice they begin small and gradually grow, mirroring their parent in shape and color. Taking care of these pups is exciting, as they represent new life and potential. Understanding this process can deepen your connection to these beautiful plants and enhance your gardening experience. Additionally, the blooming cycle of the mother plant plays a crucial role in the timing and health of pup production.
When to Separate the Pups
Knowing when to separate the pups from your bromeliad is key to guaranteeing their healthy growth. Ideally, you want to wait until the pups are about one-third the size of the parent plant, as this guarantees they’ve developed enough roots to thrive on their own. Additionally, consider the seasons; late spring or early summer is often the best time for this process, as the warmer weather helps the new plants establish quickly.
Optimal Size for Separation
Separating bromeliad pups is often a thrilling step in your gardening journey, and knowing the ideal size for this process can make a big difference. When it comes to pup size, look for those that are at least one-third the height of the mother plant. This size indicates they’re ready to thrive on their own. Separation timing is vital too; waiting too long can lead to overcrowding or stress for both the pups and the parent plant. Aim for a healthy balance—pups that are robust and have a few roots are perfect candidates for separation. By following these guidelines, you’re setting yourself up for successful propagation and a thriving collection of bromeliads!
Seasonal Timing Considerations
Timing your bromeliad pup separation can be essential to their success, as the right season can help them thrive. Spring is the perfect time for propagation, as the warmer temperatures and increased sunlight encourage growth. Your pups will be more receptive to their new environment, helping them establish roots quickly. Conversely, separating them during winter dormancy can stress both the pups and the mother plant, making it harder for them to adapt. By waiting for spring, you’ll set your bromeliads up for a flourishing future. So, keep an eye on the temperature and light conditions, and don’t hesitate to plunge into spring propagation when your pups are ready. They’ll thank you for it with vibrant blooms!
Tools Needed for Propagation
To successfully propagate bromeliads, you’ll need a few essential tools that make the process smoother and more enjoyable. First, grab a sharp, clean knife or scissors; these will help you cut the pups without damaging the parent plant. Next, have a small pot ready, filled with a well-draining potting mix that’s ideal for bromeliads. You might also want gloves to protect your hands from any spiky leaves. Finally, a spray bottle is handy for misting the pups after planting, keeping them hydrated in their new environment. With these propagation tools and essential supplies at your side, you’ll be all set to take on the adventure of growing your bromeliads and expanding your plant family!
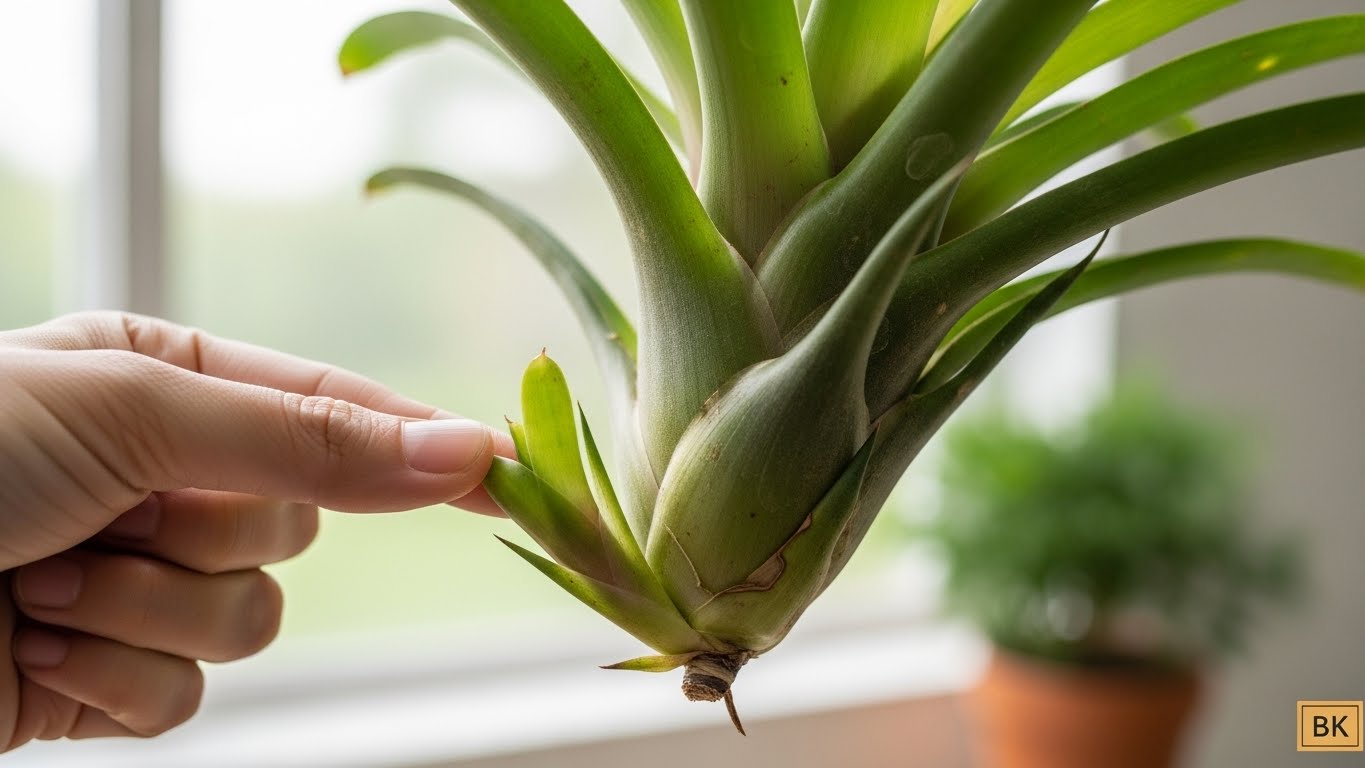
Carefully Removing the Pups
When you’re ready to propagate your bromeliads, carefully removing the pups is essential for their growth and health. Start by examining the base of the pups, looking for a clean spot where you can make a cut. Use sharp, sterilized scissors or a knife for precise pup removal techniques. Gently grasp the pup and wiggle it slightly to loosen it from the parent plant, being cautious not to damage the roots. If you encounter resistance, don’t force it; instead, use your tool to cut any connecting roots. Remember, handling bromeliads requires a gentle touch. Once you’ve removed the pups, you’ll be one step closer to nurturing new, vibrant plants that can thrive in their own space!
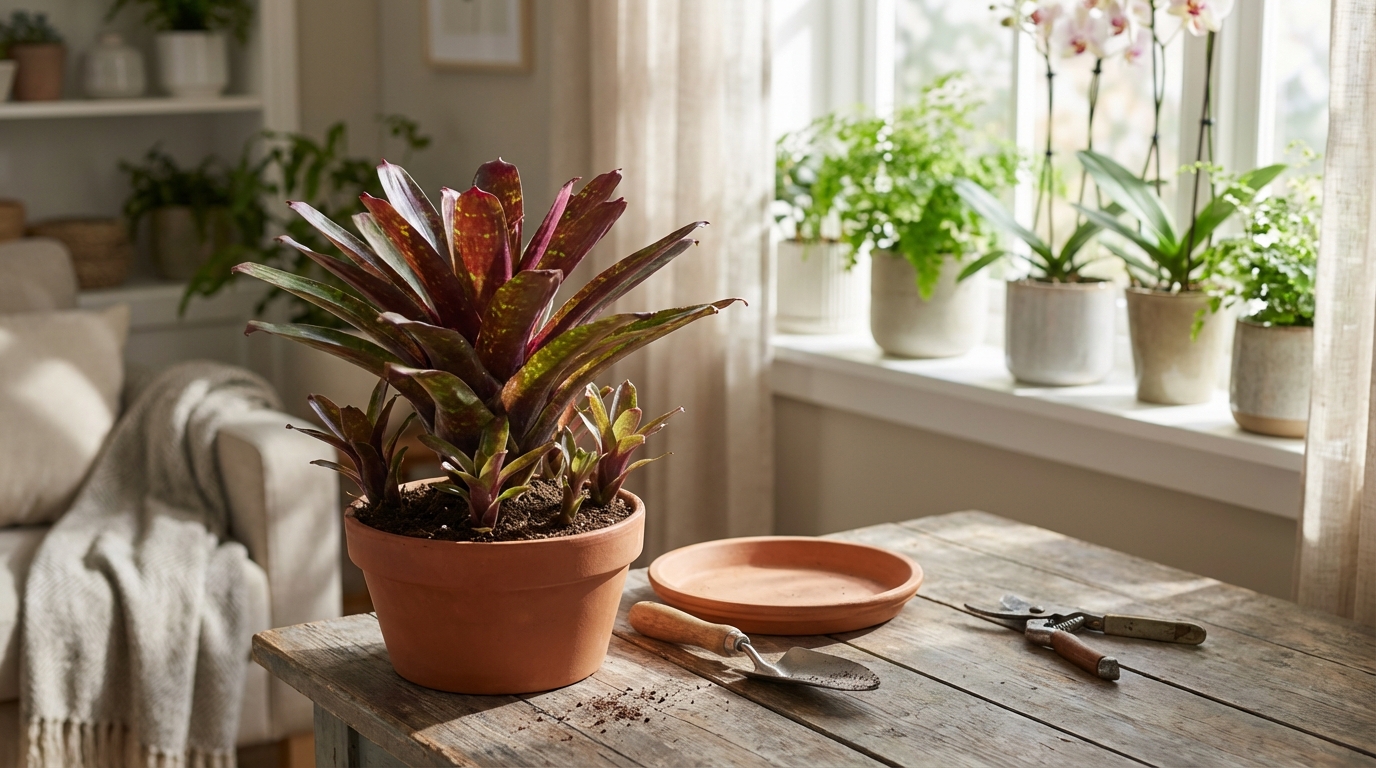
Preparing the New Pots
Preparing your new pots is an exciting step in your bromeliad propagation journey! Start with pot selection; choose pots that are slightly larger than the pups. This gives them room to grow. Make sure they have drainage holes, as drainage is essential for healthy root development. Without proper drainage, the roots can rot, which can kill your precious plants.
Next, fill the pots with a well-draining mix, like a combination of potting soil and perlite. This mix provides the right balance of moisture and air circulation, keeping your bromeliads happy.
Planting the Pups
💡 If you’re looking to enhance your bromeliad collection, consider how they can beautifully complement other indoor plants.
➜ Discover proven techniques
Now that you’ve prepared your pots, it’s time to plant the pups! First, you’ll want to select healthy pups that have good roots, as this will set the foundation for their growth. Next, make sure you’ve got the right potting mix and know how to water them properly to help your new bromeliad thrive!
Selecting Healthy Pups
💡 Fertilization plays a key role in the health of your bromeliads, especially after propagating new pups.
➜ Explore advanced methods
Selecting healthy pups is an essential step in successfully propagating bromeliads, and it can make all the difference in how well your new plants thrive. When you’re choosing pups, look for those that are at least one-third the size of the parent plant. Check for vibrant green leaves; they should be firm and free from brown tips or spots, which can indicate disease. Identifying health is important, so inspect the base of the pup for any signs of rot or pests. Healthy pups will have roots that are white or light tan, showing they’re ready to grow. By carefully selecting strong pups, you’re setting yourself up for success in your bromeliad adventure, and your patience will surely pay off!
Ideal Potting Mix
Choosing the right potting mix plays an essential role in the successful planting of your bromeliad pups. You’ll want to explore potting mix types that provide excellent drainage, as bromeliads thrive in conditions where excess water can escape. A mix of orchid bark, perlite, and peat moss creates the perfect balance—airy enough to prevent root rot while retaining just enough moisture for your pups to flourish.
When selecting your mix, remember that drainage is vital. You can’t afford to let your pups sit in soggy soil; they’ll thank you with vibrant growth! So, grab your ingredients, mix them well, and prepare to give your bromeliad pups a cozy new home that encourages healthy development. Happy planting!
Proper Watering Techniques
When you plant your bromeliad pups, it’s crucial to remember that proper watering techniques will set the stage for their growth. You want to guarantee the right balance of moisture levels for ideal water retention. Start by watering your pups immediately after planting, keeping the soil moist but not soggy. Aim for a consistent watering schedule, allowing the top inch of soil to dry out between waterings.
Watering Technique | Description |
|---|---|
Initial Watering | Water thoroughly after planting. |
Weekly Care | Water when the top inch is dry. |
Environmental Check | Adjust based on humidity levels. |
Watering and Care After Planting
After you’ve planted your bromeliads, you’ll want to give them the right amount of care to help them thrive. Start by keeping an eye on your watering frequency; these plants love moisture but can’t stand being soggy. Water the soil when it feels dry to the touch, ensuring the water drains well. Additionally, bromeliads enjoy humidity levels around 50% or higher, so consider misting them or placing a humidifier nearby. This extra moisture creates a cozy environment, encouraging healthy growth. Remember, your bromeliads will flourish in bright, indirect light, so keep them away from harsh sun. With a little attention and proper care, those pups will grow into stunning, vibrant plants you’ll love!
Ideal Conditions for Growth
To help your bromeliads thrive, you’ll want to create an environment that mimics their natural tropical habitat. Pay attention to the light requirements and humidity levels to guarantee your plants flourish.
Condition | Ideal Level |
|---|---|
Light | Bright, indirect light |
Temperature | 65°F – 85°F (18°C – 29°C) |
Humidity | 50% – 70% |
Watering | Weekly, when dry |
Fertilization | Every 4-6 weeks |
Troubleshooting Common Issues
Even with the right conditions for growth, bromeliads can still face some hiccups along the way. If you notice your pups looking a bit off, it might be time to dig into some troubleshooting. First, check for any pest control issues—tiny critters like spider mites or mealybugs can sneak in and cause trouble. A gentle soap solution can help.
Next, consider nutrient deficiencies. If the leaves are yellowing, your bromeliad might need a little extra love in the form of diluted fertilizer. Just make sure not to overdo it; too much can harm your plant. By keeping an eye on these common issues, you’ll keep your bromeliads healthy and thriving. Happy propagating!
Conclusion
Now that you know how to propagate bromeliads from pups, you’re ready to watch your plant family grow! With a little patience and care, those tiny pups can bloom into vibrant, stunning plants that brighten up any space. Remember, just like nurturing friendships, it takes time and attention to help them thrive. So grab your tools, dig in, and let your green thumb shine. Your new bromeliad babies are waiting for a chance to flourish!
💡 Repotting is a crucial step in ensuring your bromeliads thrive, especially after propagation.
➜ Get the step-by-step guide


