Repotting bromeliads is key for their growth and overall health. You’ll know it’s time to repot when the roots are tightly packed, or they start poking out of drainage holes. Choosing a snug pot with good drainage is important. Use a mix that includes organic materials for great drainage. After repotting, water it well and make certain it’s getting enough light and humidity. Stick around to uncover common mistakes to avoid and how often to repot!
Key Takeaways
💡 Proper misting is crucial for your bromeliads’ health.
➜ Master the misting technique
- Repot bromeliads every two to three years or when roots are tightly packed or visible at drainage holes.
- Choose a snug pot with drainage holes to prevent root rot and promote healthy growth.
- Use a well-draining potting mix, including peat moss, pine bark, or coconut coir for optimal nutrient absorption.
- Water thoroughly after repotting and allow the top inch of soil to dry before watering again.
- Monitor light exposure and humidity levels, adjusting care as needed for best growth conditions.
Understanding Bromeliad Growth Patterns
When you immerse yourself in the world of bromeliads, you’ll quickly discover that understanding their growth patterns is key to helping them thrive. Bromeliad growth can be fascinating, as these unique plants adapt to their surroundings. Environmental factors, like light, humidity, and temperature, play a huge role in their development. For instance, if you provide bright, indirect light, your bromeliad will flourish, producing vibrant colors and healthy leaves. On the other hand, too much direct sunlight can scorch its delicate foliage. Additionally, keeping humidity levels high can encourage growth, as these tropical plants thrive in moist environments. By observing and adjusting these factors, you’ll create the perfect home for your bromeliads, ensuring they grow beautifully and stay healthy. Understanding the ideal temperature range for bromeliads is essential for their overall health and growth.
Signs Your Bromeliad Needs Repotting
As a bromeliad owner, you’ll want to keep an eye out for a couple of key signs that indicate it’s time for a repot. If you notice that the roots are tightly packed in the pot or your plant isn’t growing like it used to, those are clear signals that a new home could do wonders. Addressing these issues promptly can help your bromeliad thrive and continue to bring joy to your space!
Root Bound Indicator
If you notice your bromeliad isn’t thriving like it used to, it might be a sign that it’s become root bound. This happens when the roots outgrow the container size, restricting their root development. Here are some key indicators to look for:
- Roots are visible: Check for roots poking out of the drainage holes.
- Soil dries quickly: If the soil dries out faster than usual, it may indicate overcrowded roots.
- Plant looks top-heavy: A bromeliad that leans or tips over might need more space.
- Slow growth: If your plant’s growth seems stagnant, it’s time to assess its pot situation.
Caring for your bromeliad by repotting can help restore its health and vibrancy!
Stunted Growth Signs
Stunted growth in your bromeliad can be a frustrating experience, especially when you’ve put in the effort to care for it. If you notice your plant isn’t thriving, it might be time for a change. One sign of trouble is yellowing leaves or a lack of new growth, which often indicates your bromeliad isn’t getting enough nutrients. Also, check its light exposure; too little or too much can stunt its growth. If your bromeliad seems to be struggling despite your best efforts, consider repotting it. Giving it fresh soil can replenish essential bromeliad nutrients and provide space for roots to expand. Trust your instincts—your bromeliad deserves a chance to flourish in a more suitable environment!
Choosing the Right Pot for Your Bromeliad
Choosing the right pot for your bromeliad can make all the difference in how well it thrives, so let’s explore what you need to contemplate! First, think about pot size—your bromeliad needs room to grow, but not too much space. A snug fit helps it establish roots. Next, you’ll want to make sure there are drainage holes; bromeliads don’t like soggy roots.
Here are some key points to remember:
- Material: Choose lightweight materials like plastic or terracotta.
- Shape: Opt for shallow pots to mimic their natural habitat.
- Color: Lighter colors reflect sunlight and prevent overheating.
- Stability: Make certain the pot is sturdy enough to support your bromeliad’s growth.
With these tips, you’re on your way to a happy bromeliad!
Selecting the Appropriate Potting Mix
When it comes to selecting the appropriate potting mix for your bromeliad, it’s essential to remember that these unique plants thrive in a well-draining environment. You’ll want a mix that incorporates organic materials like peat moss, pine bark, or coconut coir. These ingredients not only provide nutrients but also help with aeration, which is vital for root health. Since bromeliads have specific drainage requirements, make sure your mix allows excess water to escape easily. A good blend might include perlite or orchid bark to enhance drainage further. By selecting the right potting mix, you’re giving your bromeliad the best chance to flourish, ensuring it can absorb water and nutrients without becoming waterlogged. Happy planting!
Preparing Your Bromeliad for Repotting
Before you start repotting your bromeliad, it’s important to assess its health and choose the right pot. Check for any signs of disease or pests, and make sure the new pot has good drainage to keep your plant happy. With these steps, you’ll be on the right track to giving your bromeliad a fresh start!
Assessing Plant Health
Evaluating the health of your bromeliad is an essential first step in the repotting process, ensuring your plant is ready for its new home. Start with a thorough leaf inspection. Look for any signs of pests or disease—this helps you take control before moving forward. Here are some key things to check:
- Yellowing or wilting leaves
- Unwelcome pests hiding in the foliage
- Signs of mold or rot at the base
- Healthy roots that aren’t overcrowded
Choosing the Right Pot
💡 Choosing the right soil and drainage is vital when repotting.
➜ Get the step-by-step guide on potting
Now that you’ve assessed your bromeliad’s health and confirmed it’s ready for a new home, choosing the right pot is the next exciting step in the repotting journey. First, consider the pot size. You want a pot that’s slightly larger than the current one, allowing for growth without being too spacious. A snug fit helps your bromeliad thrive.
Next, check for drainage holes. Good drainage is essential because bromeliads don’t like sitting in water. If your pot doesn’t have holes, consider drilling some or selecting a different pot. Remember, your bromeliad deserves a cozy, well-draining environment to flourish. So, pick wisely, and get ready for your plant to grow beautifully in its new space!
💡 Understanding the full care calendar can enhance your repotting strategy.
➜ Explore advanced methods for year-round care
Step-by-Step Guide to Repotting
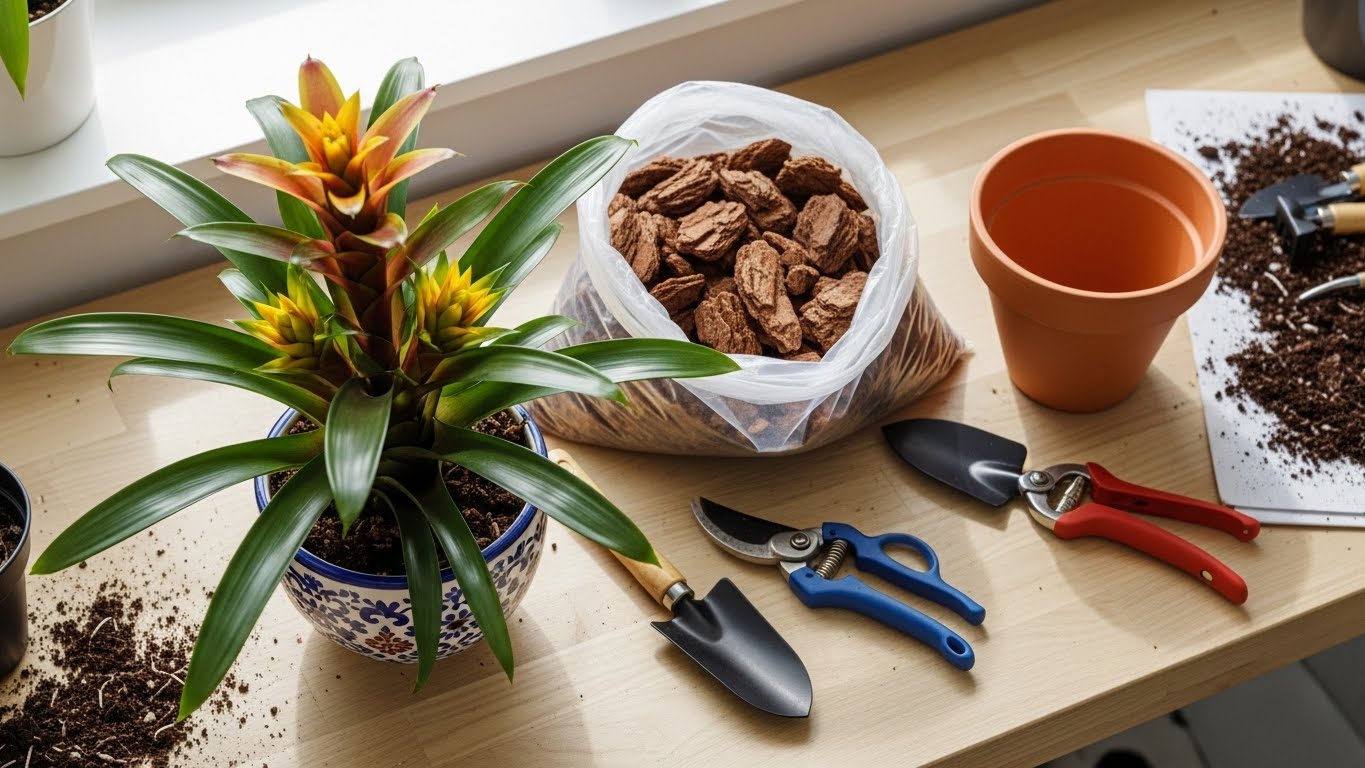
Repotting your bromeliad might feel intimidating at first, but once you understand the process, it can actually be quite rewarding! To guarantee your plant thrives with proper repotting techniques, follow these simple steps:
- Gather your materials: a new pot, fresh potting mix, and gloves.
- Carefully remove your bromeliad from its old pot, taking care not to damage the roots.
- Inspect the roots for any signs of rot; trim if needed.
- Place the plant in its new pot, filling in with potting mix and guaranteeing it’s secure.
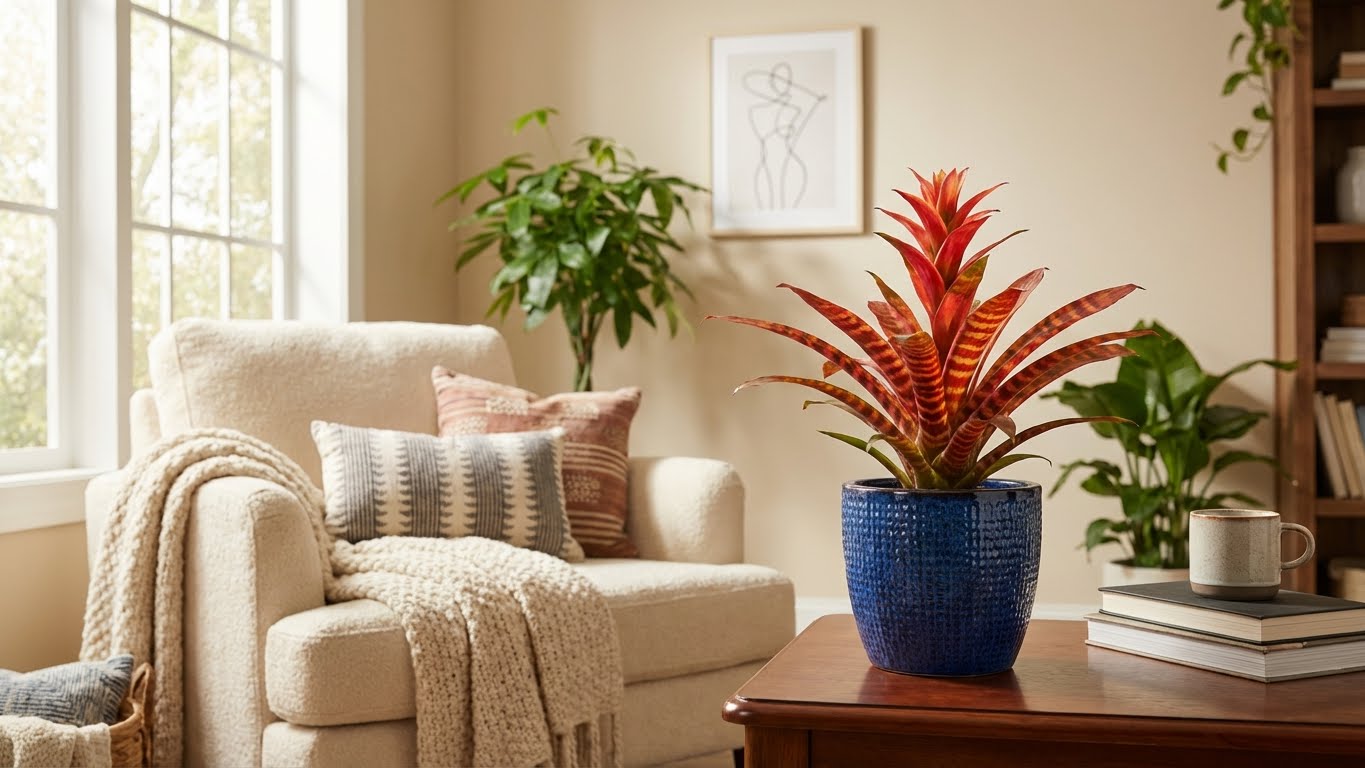
Post-Repotting Care and Maintenance
Now that you’ve successfully repotted your bromeliad, it’s essential to give it the right care to help it thrive in its new home. You’ll want to pay attention to watering, light exposure, and fertilization to guarantee your plant stays healthy and vibrant. Let’s explore these key aspects of post-repotting care so your bromeliad can flourish!
Watering Guidelines After Repotting
Proper watering is crucial for the health of your newly repotted bromeliad, so let’s explore some essential guidelines to keep your plant thriving. After repotting, you’ll need to adjust your watering frequency to guarantee proper moisture retention without overdoing it.
- Water your bromeliad thoroughly, allowing excess to drain.
- Wait until the top inch of the soil feels dry before watering again.
- Keep an eye on the plant; if the leaves start to droop, it might need more water.
- Mist the leaves occasionally to help maintain humidity levels.
Light Requirements Post-Repotting
After you’ve repotted your bromeliad, it’s important to contemplate how much light it needs to thrive in its new environment. Bromeliads love bright, indirect light, so try placing yours near a window where it can soak up some gentle rays without burning.
Pay attention to light intensity; too much direct sunlight can scorch those tender leaves. Ideally, aim for around 10-14 hours of light duration daily. If your bromeliad starts to look leggy, it might be craving more light. Conversely, if the colors seem faded or washed out, it may be getting too much. Adjust its position gradually, and watch how it responds, ensuring your bromeliad stays healthy and vibrant in its new home.
Fertilization Tips for Bromeliads
When you repot your bromeliad, getting the right fertilization can make a huge difference in its growth and overall health. To help your plant thrive, consider these fertilizer types and a solid feeding schedule:
- Balanced liquid fertilizer: Dilute it to half strength for gentle feeding.
- Slow-release granules: Sprinkle these into the soil during repotting for long-lasting nourishment.
- Orchid fertilizer: It’s often perfect for bromeliads, offering the nutrients they love.
- Monthly feeding: Stick to a schedule, especially during the growing season, to keep your bromeliad happy.
Common Mistakes to Avoid When Repotting
Repotting your bromeliad can be a fun and rewarding experience, but you might make some common mistakes that could harm your plant. To guarantee your bromeliad thrives, avoid these pitfalls:
Mistake | Description |
|---|---|
Wrong Repotting Timing | Don’t rush; wait until the plant needs it. |
Improper Potting Techniques | Use the right mix; bromeliads prefer well-draining soil. |
Too Large Pot | Choose a snug fit; an oversized pot can hold too much moisture. |
Neglecting Drainage | Always verify there are drainage holes; standing water can lead to root rot. |
How Often Should You Repot Your Bromeliad?
How often should you give your bromeliad a new home? The ideal repotting frequency depends on various factors, including the plant’s growth and health. Generally, you’ll want to repot your bromeliad every two to three years. This helps guarantee it has enough space to thrive and supports its overall lifespan. Here are some signs that it’s time to repot:
- Roots are growing out of the pot.
- The plant appears to be stunted or unhealthy.
- The potting mix is breaking down or compacted.
- You want to refresh its nutrients for better growth.
Troubleshooting Repotting Issues
Even though repotting your bromeliad can be an exciting opportunity to give your plant a fresh start, it can sometimes lead to unexpected challenges. If your plant seems droopy or unhappy after repotting, check if you used the right repotting techniques. Make sure you didn’t bury the crown too deeply or use overly compact soil. If you notice pests, don’t panic! Effective pest management is key. Inspect your plant regularly for any unwanted visitors and treat them with insecticidal soap or neem oil. Remember to give your bromeliad some time to adjust after repotting; it might be a little cranky at first but will bounce back with your care and attention. Happy gardening!
Conclusion
Repotting your bromeliad might seem like a chore, but it’s really just your plant’s way of asking for a little upgrade—kind of like wanting a new video game console instead of sticking with the old one! By paying attention to its needs and following the steps we discussed, you’ll keep your bromeliad thriving and looking fabulous. So, don’t put it off any longer; your plant will thank you for the fresh start and a cozy new home!
💡 Repotting can sometimes lead to issues; knowing how to troubleshoot is key.
➜ Discover proven techniques to troubleshoot


